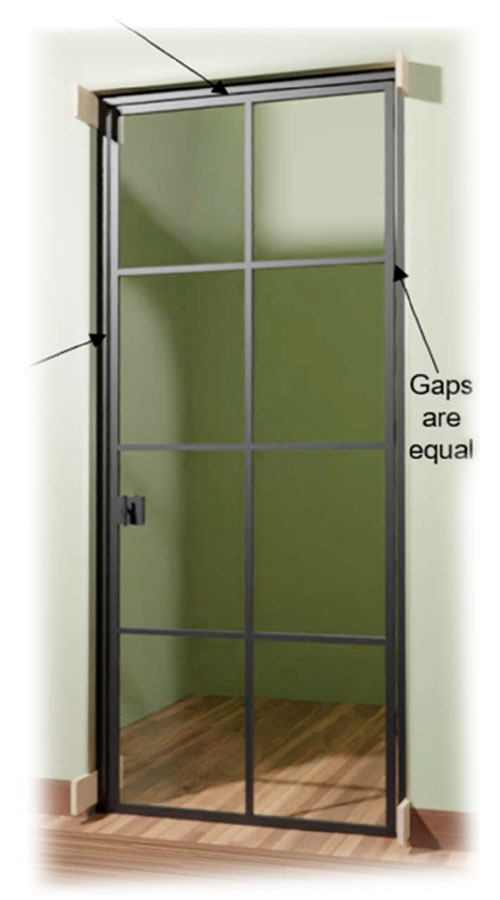
Glenview Doors® Steel Frame Glass Doors

Interior Steel Frame Glass Door Installation Instruction

Steel Door Installation

This guide is for general assistance. We always recommend hiring a professional Installer for your door installation to ensure ideal fit and performance. The installer and building owner are responsible for reading and understanding these guidelines to prevent problems which are not covered under warranty by Glenview Doors. Always provide a copy of these instructions for the current building owner.


INSTALLER AND BUILDER INFORMATION:

  1. Ensure the wall opening provides enough space for the unit. Ideal clearance is 3/16" on the sides and top of the unit.
  2. Inspect unit upon delivery for any hidden damages or missing components
  3. The door and its components must be protected from damage before, during, and after installation. Carefully unpack the door and remove the protection wings
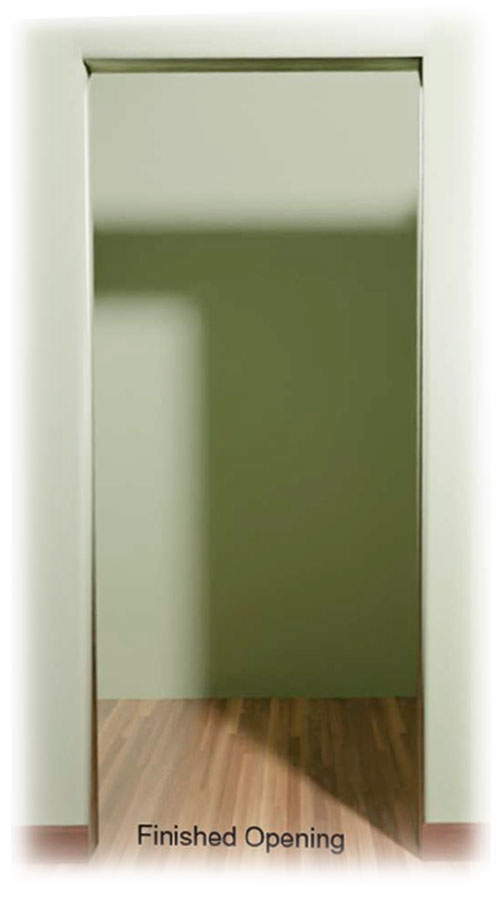
  4. Steel door should be installed in finished openings. Glenview doors only work with finished openings.
  5. Frame is prepared with mounting holes (3/8") in the Factory.
  6. It is recommended to install the door in the center of the recess instead closer to the edge. It provides more stable surface for the screwing.
  7. Do not work alone, make sure you always have enough man power when handling the door, use safe lifting techniques, and make sure the door is always properly supported to avoid incident.
  8. Use caution when operating hand / power tools and working at elevated heights.
  9. Code requirements vary based on your location and may not be covered in these instructions.
  10. Please contact us if you have any questions or concerns.


INSTALLATION TOOLS:

  1. Shims of different thicknesses
  2. Cordless Drill with Bits
  3. Exterior Silicone
  4. Level
  5. Safety glasses
  6. Screwdrivers
  7. Pencil
  8. Step Ladder
  9. Wood screws


Steelline

Installation-Steel-Interor-Doors1

Step 1

Wall Opening Preparation:

Before beginning, determine what is the status of the opening. You should start with a finished opening.
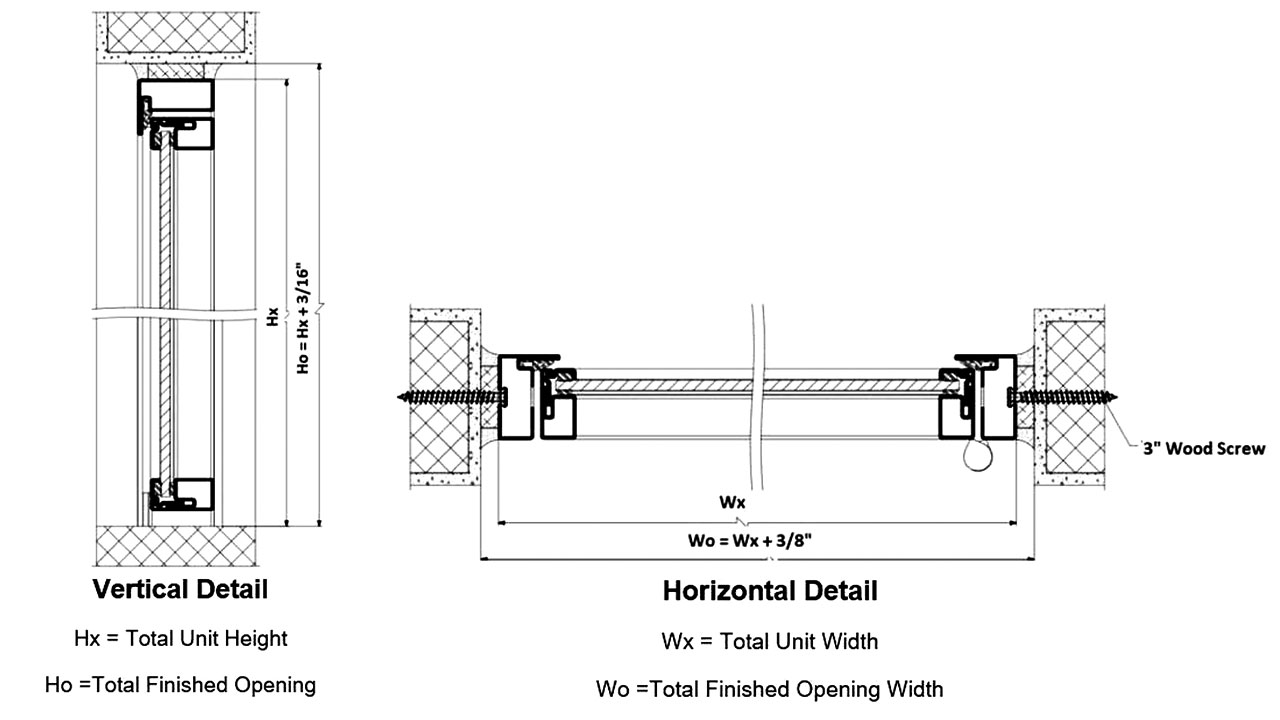
  • The opening should be 3/8" wider, and 3/16" taller than the door unit.
  • The opening should be square.


How to Determine Unit Size Base on Your Finished Opening:

Steelline

Step 2

Installing Door Frame:

  • Remove the door from its hinges and put it in a safe place.
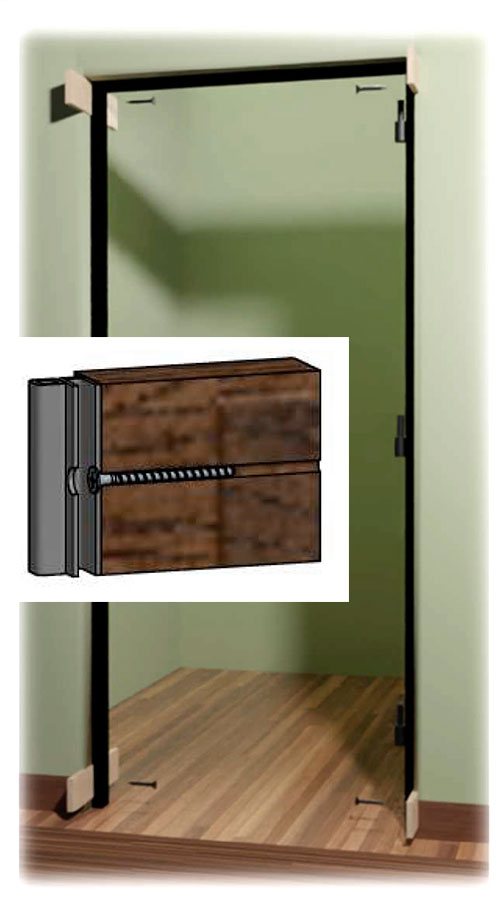
  • Place the frame without the door into the opening.
  • Check for screws position and proceed to block the frame in place with shims, use two shims at the top screw holes and another two shims at the bottom holes of the frame.
  • Shims must be close to the screws holes to prevent the frame from bending when screwing firmly to the wall.

Installation-Steel-Interor-Doors2
Installation-Steel-Interor-Doors3
  • Use the level to check for squareness of the entire frame.
  • Screw the (4) four screws in the corners.
  • Repeat the level step.

  • Insert the door leaf and close it.
  • Check the gaps between the frame and the door to ensure they are even.
  • Screw the reminding screws.
  • Remove the excess of the shims.
  • Cover the gaps between wall and frame with skinny pieces of wood (MDF, Caulking).
  • Cover the screw holes with PLUGS. Those are proportionated a long with the frame.

Installation-Steel-Interor-Doors4 Installation-Steel-Interor-Doors5
Screw-Hole.jpg
  • Plug in to the screw tole


close video